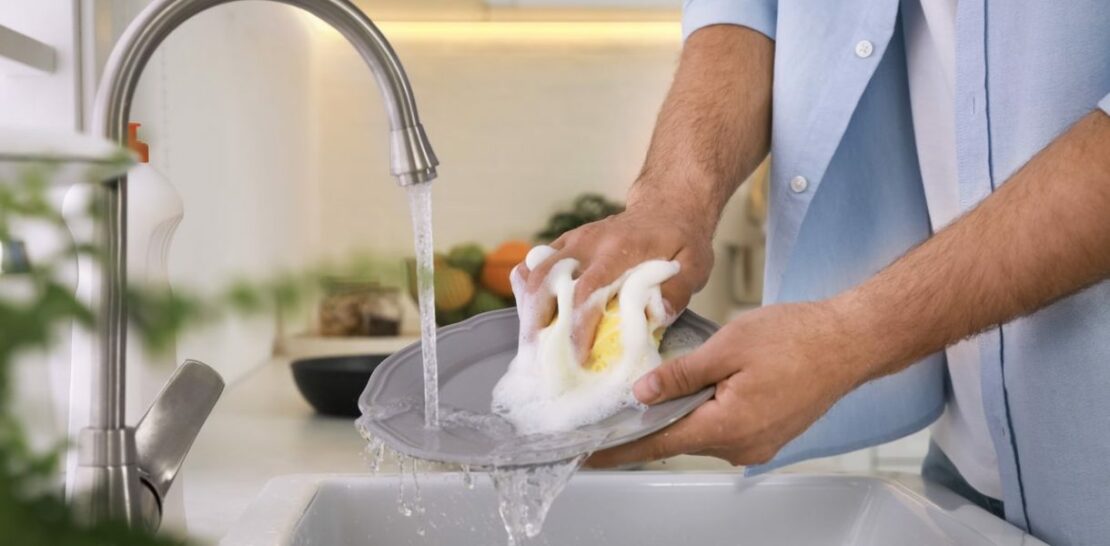
Are you aware that your kitchen sponge could be a breeding ground for bacteria and a potential threat to your family’s health?
A seemingly harmless sponge can harbor millions of bacteria, making it one of the dirtiest items in your home.
In this comprehensive article, we will dive into the crucial importance of maintaining sponge hygiene and explore three unparalleled tricks to disinfect your sponges in the blink of an eye.
Say goodbye to germs and hello to a cleaner, safer kitchen environment!
Understanding the Perils of a Contaminated Sponge
Before we delve into the world of sponge disinfection, it is vital to comprehend the dangers that a contaminated sponge poses.
According to a study conducted by Scientific Reports, kitchen sponges are teeming with bacteria, including pathogens like E. coli and Salmonella, which can cause foodborne illnesses. These harmful microorganisms thrive in the damp, warm environment of a sponge, multiplying rapidly and contaminating surfaces and utensils in your kitchen. As a result, inadequately sanitized sponges can lead to cross-contamination and serious health issues.
Furthermore, the prolonged use of a contaminated sponge can also cause unpleasant odors in your kitchen. The presence of bacteria, mold, and mildew on a sponge can result in a persistent musty smell, tarnishing the ambiance of your cooking space and negatively impacting your overall kitchen experience.
Now that we have established the potential hazards of a dirty sponge, let’s explore three innovative tricks to disinfect your sponges and eradicate these harmful pathogens.
1. Microwave Magic: Zap Away Bacteria
Did you know that your microwave is not only for reheating leftovers and popping popcorn, but also a magnificent tool for disinfecting your sponges? The high heat generated by the microwave can effectively kill bacteria and pathogens residing within your sponge, ensuring a clean and hygienic kitchen.
- Ensure your sponge is wet: Before placing your sponge in the microwave, make sure it is thoroughly soaked in water. This step is crucial, as a dry sponge can catch fire or release harmful fumes during the microwaving process.
- Place the sponge in the microwave: Position your wet sponge on a microwave-safe dish or plate to avoid any possible damage to your microwave’s interior.
- Microwave on high: Close the microwave door and set the timer for 1-2 minutes, depending on the strength of your microwave. The high heat generated during this time will effectively kill bacteria and pathogens present within the sponge.
- Allow the sponge to cool: After the timer has expired, carefully open the microwave door and allow the sponge to cool for a few minutes before handling it. This will prevent accidental burns and ensure a comfortable grip.
By utilizing the power of your microwave, you can effortlessly disinfect your sponges and safeguard your kitchen from the threat of bacterial contamination.
2. Dishwasher Delight: Clean Sponges with Every Cycle
Another clever trick to disinfect your sponges is taking advantage of your dishwasher’s sanitizing capabilities. By incorporating your sponge into your regular dishwasher cycle, you can ensure a thorough clean and eliminate harmful bacteria with minimal effort.
- Clip the sponge: To prevent your sponge from getting lost or damaged during the dishwasher cycle, use a clothespin or a similar device to clip it to the top rack. This will keep the sponge securely in place and ensure optimal exposure to the dishwasher’s cleaning action.
- Run the dishwasher: Initiate your regular dishwasher cycle, ensuring that the water temperature is set to at least 130°F (54°C) to guarantee effective bacteria elimination. The combination of hot water, detergent, and high-pressure jets will work wonders in disinfecting your sponge.
- Allow the sponge to air-dry: After the dishwasher cycle is complete, remove the sponge and place it in a well-ventilated area to air-dry. This will prevent the buildup of bacteria and mold and help prolong the life of your sponge.
By incorporating your sponge into your dishwasher routine, you can achieve a superior level of hygienewith minimal effort and ensure that your kitchen remains a safe and sanitary space for food preparation.
3. Vinegar Victory: Unleash the Power of Natural Disinfection
For those who prefer a more natural approach to sponge disinfection, look no further than the remarkable cleansing properties of vinegar. Boasting antimicrobial and antibacterial qualities, vinegar is an effective and eco-friendly solution for eliminating germs and maintaining sponge hygiene.
The process of disinfecting your sponge with vinegar is incredibly simple and can be broken down into three easy steps:
- Soak the sponge: Submerge your sponge in a mixture of equal parts water and white vinegar. This solution will penetrate the sponge’s porous texture, loosening dirt and grime while killing bacteria and pathogens.
- Allow the sponge to marinate: Let the sponge soak in the vinegar solution for a minimum of 30 minutes, allowing ample time for the vinegar to work its magic and eradicate any lingering germs.
- Rinse and air-dry: After the soaking period, thoroughly rinse the sponge under running water to remove any residual vinegar. Finally, place the sponge in a well-ventilated area to air-dry, preventing the growth of bacteria and mold.
By harnessing the natural disinfecting power of vinegar, you can effectively cleanse your sponges without relying on harsh chemicals or expensive appliances.
In conclusion, maintaining sponge hygiene is an essential aspect of a clean and healthy kitchen. By implementing one or more of the three innovative tricks outlined in this article, you can effortlessly disinfect your sponges and protect your family from the dangers of bacterial contamination. Whether you choose to zap away bacteria with your microwave, incorporate your sponge into your dishwasher routine, or harness the power of vinegar, these techniques will revolutionize your kitchen hygiene and ensure a safer, cleaner environment for food preparation.


